


×
Login Form
×
Registration
Profile Information
Login Details
or login
Painting Internal Doors
01.11.16
Posted By Handle King Ireland

Over the years your Internal doors take a lot of use and abuse, so inevitably the time will come when their looking worn and tired! If this is the case, then repainting your internal doors maybe what comes to mind, but if the wrong paint is used or the job is undertaken without thought then it can end in an awful mess, leaving you with no other option but to replace your doors and buy new door handles.
 Best Results
For best results use a gloss or semi-gloss paint, whilst to make it easier and quicker keep the doors hanging in place when painting, this allows for you to paint both sides of the door in one sitting. If planning to paint your doors before hanging, then you will need to complete the painting process in stages, a side at a time, resting one side of the door against another surface for it to dry before painting the reverse. Attempting to paint both side of an unhung door simultaneously will usually end in the overall finish being compromised.
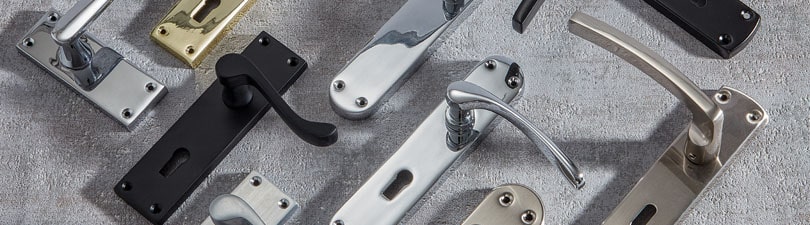
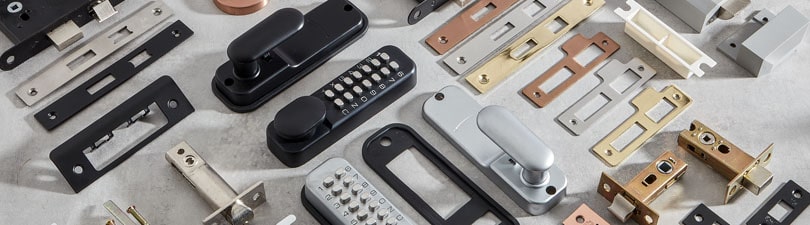
 Remove Door Handles
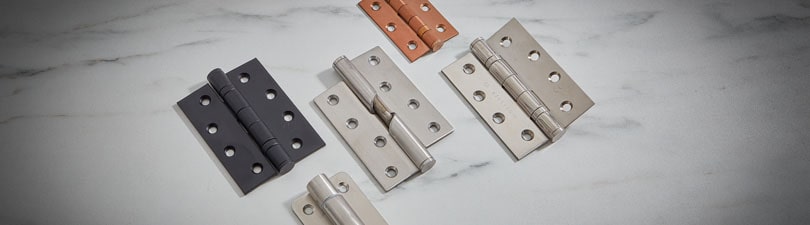
There is nothing worse than seeing a beautifully painted door, paired with paint splashed door handles. To achieve a pristine finish, remember to remove your internal door handles, latches and locks before the paint comes out, and if painting the door whilst hung then masking the door hinges is advised so that you don’t end up with partly painted or even sticking door hinges.
 Sand and Smooth
Before repainting, lightly brush your doors down with sand paper to create a texture. This will help the new layers of paint take to the door and will enable you to smooth out any imperfections or drips of dried paint from the last time you painted your doors. Take care not to sand too hard though as you do not wish to create an uneven surface or cause damage to the door. Once sanded wipe the door with a damp cloth to remove any dust and allow to dry.
 Prepare with Primer
Use a primer to prepare the surface of your door before you start painting. This will contribute towards smoothing the surface of your door ready for painting, which will help you achieve a professional look and finish.
 Paint and Wait
Next, apply the first layer of gloss or semi-gloss internal door paint then wait for it to dry before applying the second layer to produce a smooth and durable finish. You may also wish to mix your paint with paint conditioner to reduce the drying time, which can also help achieve a smoother finish.
 Real Wood Doors
If you are planning to paint real wood doors, then you need to take care to ensure that no area has been left unpainted and an even seal has been formed over your doors. Don’t forget to paint around the edges of the door too, as if you have any part of your new real wood doors unpainted you may find in time that the door could warp.
 Panelled Doors
When painting panelled doors, start with painting the panel sections, and then the borders so to achieve a smooth finish. If you were to paint over the whole door at once, or if too heavy a coat of paint is applied to the border sections you may lose definition in the borders and find that the paint forms drip marks.
 Frames
Painting your doors and leaving the frame is a mistake not to be made. Paint the frames using the same techniques before hanging the freshly painted doors in a separate sitting. This ensures a professional finish without drips on your doors.
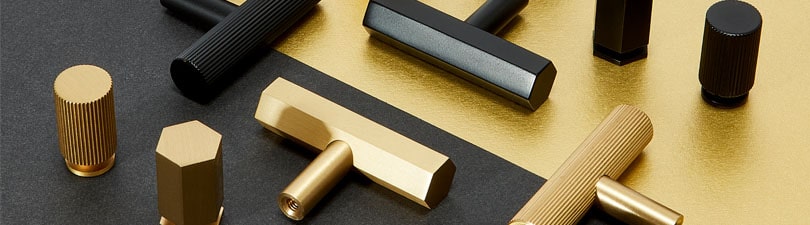
 Door Handles
Once the hard work is finished and paintwork has dried, with the door hung in place, refit your door handles and door latch then time to stand back and admire your handy work!
Read Updating your New Home and How to Fix Old Door Handles for more helpful tips to guide you through your home improvements.

