


×
Login Form
×
Registration
Profile Information
Login Details
or login
How to Paint Interior Walls
24.07.17
Posted By Handle King Ireland

Looking to freshen up your décor? With the light and bright summer days fast approaching, now really is the perfect time to get painting! A new lick of paint is often all that is needed to freshen up your home. Follow our simple guide below to achieve a professional finish to your interior walls.
 Furniture
The first thing to do is remove all small items of furniture from the room you will be painting and cover any larger items with a dust sheet that it is not possible to remove from the room. It is also advisable to cover your floor and use masking tape around the edge of the floor to avoid any paint drips or run-off from the wall.
 Prime
Prime
Prime your surface. Apply filler to any cracks that may have appeared within your paintwork and wait patiently for this to dry before carefully sanding away any excess to ensure a smooth surface on which to paint.
 Masking
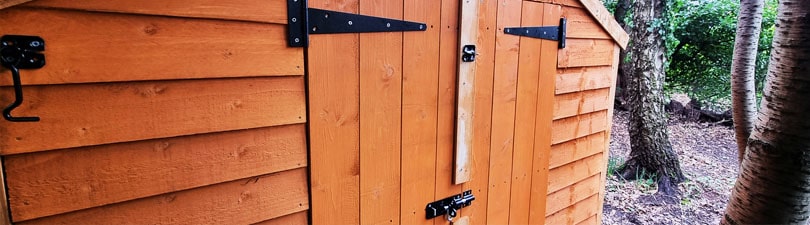
Apply masking tape around the edges of the area you are planning to paint to ensure no paint seeps over the area you wish to cover. When painting a door it is advisable to remove your door handles, latch or lock and door hinges where possible, to ensure they do not end up painted too. If this is not possible, then ensure these items are covered with masking tape to protect these surfaces too.
 Brush Work
Using a good quality and clean brush, start by painting in the corners and around the edges of your walls using a thin layer of paint on your brush. Once completed use a roller in a vertical motion to fill in the central part of your wall and take care to merge with the surrounding painted sections.
 Further Coat
Once you have applied your base coat it is important to allow the surface to dry fully before applying a further coat of paint. Do be patient at this stage as this will help you to achieve a much tidier finish. Remember, it is advisable to always paint in natural daylight to ensure your surface has consistent coverage & a bright sunny day will be invaluable not only for providing natural light, but also to assist with the drying process. Where possible, open your windows to help air the room and speed up the drying process!
 Inspect
Finally repeat phases 4 & 5 once more and inspect your room during daylight hours, as this will show up any flaws which you may not have spotted otherwise!
For more tips on redecorating your space, check out our previous blogs on Painting Internal Doors and Updating Your New Home.

