


×
Login Form
×
Registration
Profile Information
Login Details
or login
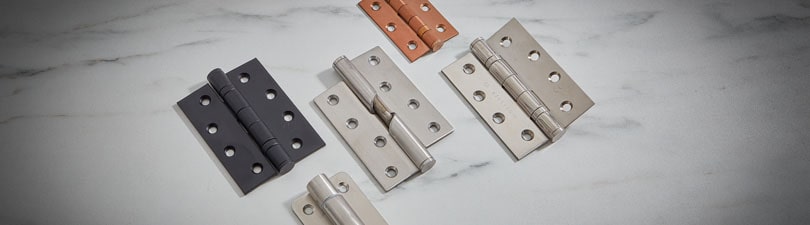
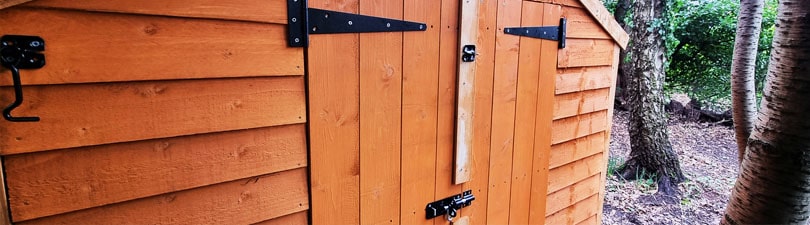
A Guide on Replacing Gate T Hinges
15.07.20
Posted By Handle King Ireland

It’s important to fix any sign of damage to garden gates as it can affect the wellbeing of your property from unwanted intruders. Update your garden security and follow our simple DIY guide on replacing garden gate hinges with ease!.
How to Select your Gate Hinges
Our heavy duty T hinges are an ideal choice for garden gates as they are robust, sturdy, and weather resistant. Our garden gate hinges feature a rectangular-shaped knuckle which fits to the gate post and has a tapered strap which fits to the gate.
To suit the measurement and weight of your garden gate or shed, we offer various sizes of T hinges including 300mm (12”), 400mm (16”) and 450mm (18”). The width of your gate will determine the hinge length required as the hinge should be at least one third of the width of the gate. For ease of installation, our heavy duty gate hinges are sold in pairs and feature pre-drilled fixing holes.
300mm (12”) T hinges are suitable for small gates whereas larger gates will require gate hinges measuring 400mm (16”). To stabilise the weight of extra-large gates measuring over 900mm wide, we recommend our longer length 450mm (18") T hinges. Our selection of gate hinges in the various sizes are available in weather resistant zinc finish and epoxy black finish.
Steps for Rehanging A Gate
TOP TIP: When fitting a large gate, you will require an extra pair of hands to help you complete the task.
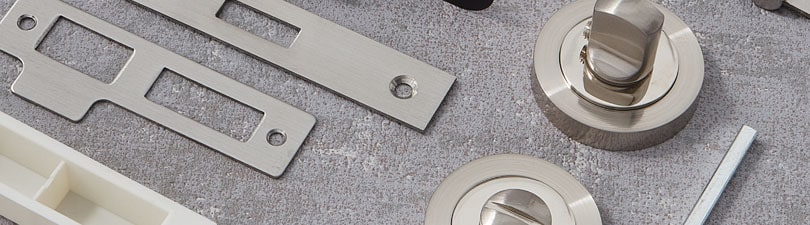
Before you start, you will need: a screwdriver or drill, new heavy duty T hinges and screws, exterior-quality wood filler, new gate latch, bradawl, thin wooden wedges (to hold the gate level when rehinging).
 Remove the existing broken or rusty hinges with a screwdriver, along with the gate latch and any additional fittings. To loosen difficult, rusty screws, try tapping the head of the screw first and continue to unscrew.
 Locate the screws holding the gate post to the wall. You may need to remove the gate post and insert new wall plugs into the old holes if the screws are not holding the post securely to the wall.
 It is unlikely that the old screw holes will be compatible with the new T hinge holes. Simply fill the old holes with an exterior-quality wood filler and allow it to set then sand and smooth.
 Take your drill or screwdriver and fit the new hinge to the gate. Hold the gate beside the old post and use wooden wedges to keep it in position as you check that it’s raised to the correct height. Drill pilot holes then screw the hinge securely to the post. Insert the top and bottom screws to keep the gate in position while the remaining screws are inserted. Fit both hinges, one at the top and one at the bottom.
 To finish your installation, close the gate and fit your new gate latch. Place the latch part on the post and mark the screw holes with a bradawl. Do the same with the bar part on the gate then screw both parts in place.
Your garden gate should now be fully operational! Our high-quality selection of gate furniture features everything you need to fit and secure a side gate or shed door.
We hope to inspire your home improvement projects and offer a variety of high-quality products that excel in both aesthetic and performance. If you love all things interior and want more home inspiration, check out our previous blogs.

